The first three parts of our "Perfect Pistol Shooting" series dealt with grip, posture and trigger control. The fourth part deals with the important topic of correct draw and why it is crucial for achieving good times.
Another way of looking at the gun in competitions
Virtually every IPSC stage requires drawing the holstered gun, so it is vital to be able to draw the gun with a steady, secure grip and aim quickly at the target. Although the pure draw time, compared to the total time, in a stage usually makes up for only a fraction, in our experience it has nevertheless a great influence on how fast you can shoot in general. This makes all the more sense if you choose a different way of looking at the draw motion. You look at a target, grab the gun and then point it to the target. Basically, this is just a complicated form of target transition. Target transitions, on the other hand, are very common, and those who can quickly pick up targets will also be on the podium accordingly. According to the most commonly taught method, the draw motion is as follows:
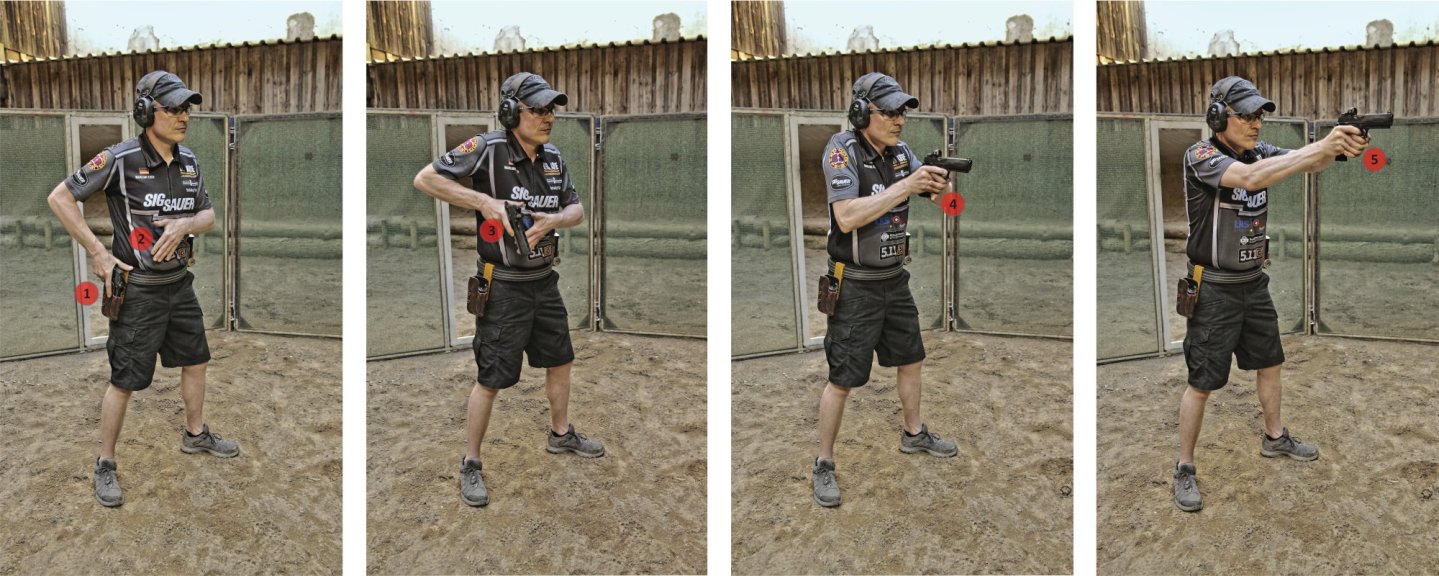
The 5 steps of a proper draw:
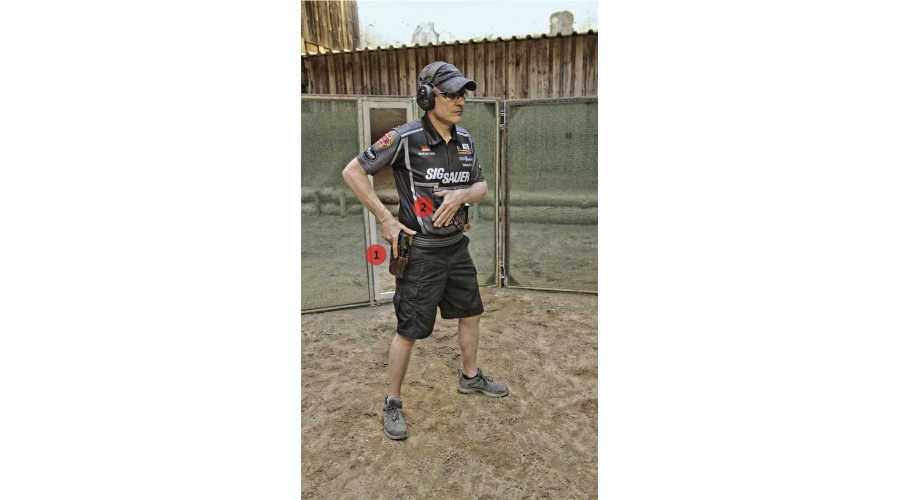
Step 1 After the start signal sounds, the holstered gun is fully grabbed with the firing hand.
Step 2 While the firing hand wraps around the gun grip, the non-firing hand is moved towards the holster side.
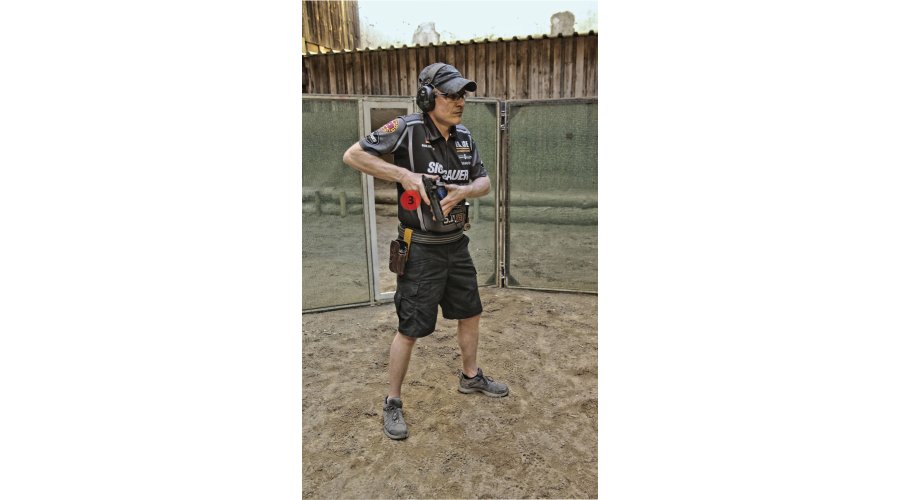
Step 3 Once the firing hand has fully gripped the gun, the gun is pulled out of the holster and brought into the aiming position.
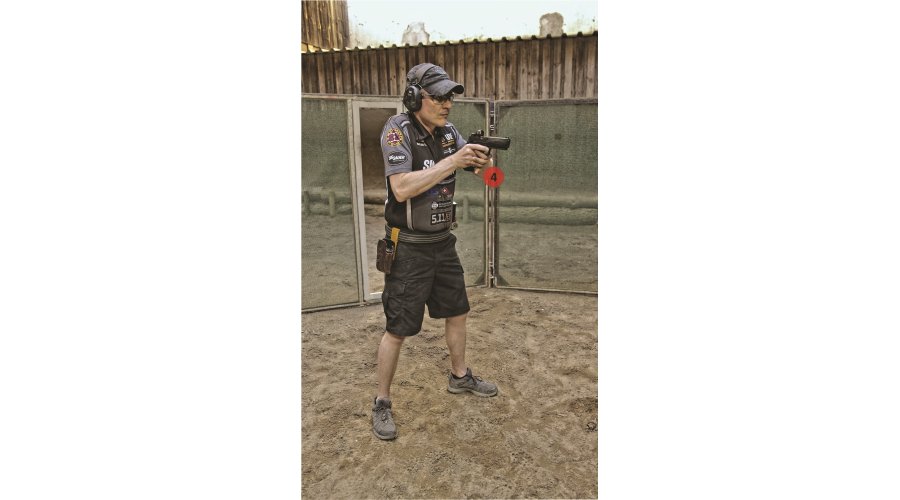
Step 4 During the "go into the aiming position" motion the non-firing hand is brought to the gun; you complete the grip.
Step 5 When the gun reaches eye level, the aiming process starts and the shot is fired when ready.
In order to get a better feeling for the process described above, we recommend that you repeat the draw process in reverse order during dry-fire training. Instead of the holstered gun you start with the gun in the aiming position and holster it back.
These mistakes are frequently made
There is truly a ton of superfluous and time-consuming things that shooters do while drawing. One of the most common problems, for example, is the slow response to the start signal. If you wait until the start signal stops sounding, you waste valuable time. Already at the first sounding of the signal the firing hand has to move immediately towards the gun. Another, not so rare problem is that the strong hand is brought to the gun with too much force and the gun is first pressed down into the holster before being pulled up. That too just wastes time. It's quicker just grabbing the gun and pulling it clean from the holster. A good tip is to pay attention to whether you feel the holster moving in the direction of the hip/leg.
Many shooters also neglect the position of their non-firing hand while drawing. If the non-firing hand is not moved over to the holster side early, it lags behind when the draw speed of the gun hand increases. In addition, a true classic among the draw problems is the movement of the whole body. Actually, only the arms should move during the draw motion, but instead, shooters are only too happy to twist and bend. It is important to avoid any unnecessary movement. And again, it helps to practise draw in reverse order to expose any unnecessary movements. In addition, dry-fire training in front of a large mirror can work wonders.
A time-waster not to be underestimated lurks in the way gun aiming motion does not follow a direct route to the target. The target is too often swung over with the gun and then the gun is lowered back to the target (the so-called “fishing”) or the arms are brought upward together in in a motion similar to tossing a bowling ball (the so-called "bowling"). Both ways are extremely ineffective. Rather, the gun must be brought directly into the aiming position. Whether we work effectively here can be determined with relative ease by looking at the sights. Ideally, you should see the sights aligned on the target’s center. On the other hand, if the front sight is high on the target and must be first lowered into the middle of the target, this is an indication of "fishing". Finally, it should be noted that the difficulty of the shot should have no influence on the draw speed. For the mere pulling of the gun, it is irrelevant whether the target to be hit is 5 or 50 meters away. If the first shot time increases, then it’s only because the more distant target must be more carefully aimed at.
As always, these tips are not only interesting for passionate shooters, but are worth knowing for all handgun shooters who want to improve their skills. Try it out. Because practice is known to make perfect (shooters)!
Here are the other parts of our series on dynamic handgun shooting:
- Part 1: The perfect grip for pistol shooting
- Part 2: The perfect pistol shooting posture
- Part 3: The trigger control for perfect pistol shooting
Further information on dynamic handgun shooting:
Which IPSC classes are there in the field of short guns? We offer you a short overview to the Handgun Divisions.


