In my previous article on the impressive X10 progressive ammunition reloading press from Frankford Arsenal, we took a good look at what is inside all the boxes that European distributor Strobl.cz sent me.
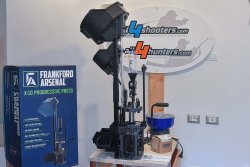
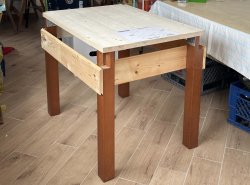
One thing was missing: a good, sturdy reloading bench that is rugged enough to withstand the abuse and weight that such a large press can exert on it. I decided that this press deserved its own bench and being quite short of space I made a small one out of steel hardware, heavy duty 30-mm thick plywood and a set of wooden 4x4” legs. The size of the bench is about 80x120 cm, just enough to contain the press and immediate reloading materials, and at a comfortable height to operate the press handle; it MUST be secured to your garage’s wall or floor for safe operation and to prevent a tip-over.
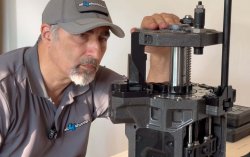
I bored the six holes for the securing bolts, also sourced at the hardware store, using the supplied stencil to prepare the bench for the press. Looking back, placing a 45x45x3 mm steel sheet between the press body and the plywood surface to distribute the pressure would have been a great idea, and although missing in the video and images, I did end up mounting it.
Now, I won’t mince words: the X10 is a helluva machine. It has boatloads of features, and this means more complexity. Setting it up properly will mean long service and excellent results and performance.
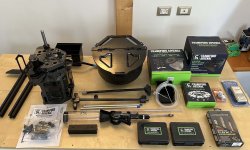
The best suggestion would be to familiarize yourself with the frankly well-made assembly instructions, watch a few setup videos detailing the assembly of this amazing progressive press (the ones from Frankford Arsenal are great (https://www.youtube.com/@frankfordarsenal/videos) and prepare all the parts and tools so that they are handy when you need them. And, of course, you’re already reading this and watching my video!
I am going to use Frankford Arsenal’s X10 press primarily to reload 9mm pistol rounds as these are the bulk of the ammo I shoot at the range.
The steps and choices I make in the assembly of the X10 press in this article reflect this: YMMV, since for other calibers you may need to purchase additional shell holders and possibly other accessories and parts.
Frankford Arsenal X10 progressive press assembly
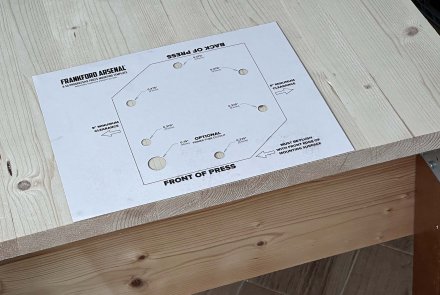
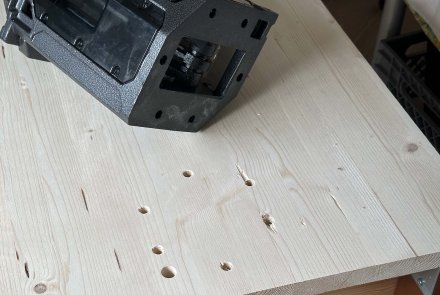
I decided to mount the X10 main assembly of the reloading press a few centimeters inside the edge of the table, if you do the same be sure to actually check correct clearance for the operating handle, or be prepared to cut a notch for it in the bench afterwards… do remember to remove all zip ties. Once torqued all the bolts, install the side cover panels on the press (lots of screws!). I left the last panel, the one that sits above the handle bar head off, as I will need to have access there during setup and tuning of the press, and I installed the operating handle.
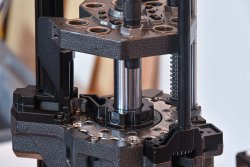
As the main press body comes assembled with the tool head plate assembled, I’ll need to remove that by unscrewing the central post nut. An adjustable crescent wrench is best suited for the job, and it’s better to do it in the lowest position the plate goes over the press body. Time to remove the shell plate flange, that is fastened with five screws. As I am going to reload small primer cases, namely 9mm pistol rounds, I will not need to replace the primer and swager pins as these are already installed in the correct size from the factory.
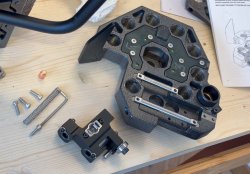
To install the case holder plate, pull back on the detent located under the bullet feeder chute block and let the plate fall in. Once secured, check that the plate turns and the spring-loaded ball indexes properly the plate by pulling fully on the reloading handle. As the press comes from the factory installed with the #1 reducer in the case plunger feeder assembly, there’s no need to change it with another of the three available plungers and/or one of the five other included reducers for 9mm case reloading. Next up, the priming system: I chose the correct assembly for 9mm pistol ammo that is clearly printed with “small primer” on the gear, and I mounted it on the press body checking it indexes correctly with the shell holder and that all movements are smooth.
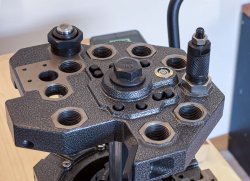
Note the case head locator buttons: they’re spring loaded, it’s good to check that they are able to move freely up and down now.
If you also purchased, as I have, the pistol bullet collator and feeder kit, this can be the moment to install a vital part, the bullet shuttle assembly, as it must be mounted underneath the tool head.
In the next part of our small series of articles on this enormously powerful reloading press from the STROBL.CZ range, we will soon show exactly how this works and how the assembly and set-up of the Frankford Arsenal X10 continues. You can get a taste of it in our video linked above or in the manufacturer's video which you can find here https://www.youtube.com/@frankfordarsenal/videos.
You can find more information about the FA X10 and its wide range of products for sport shooters and hunters on the STROBL.CZ store webpage.


