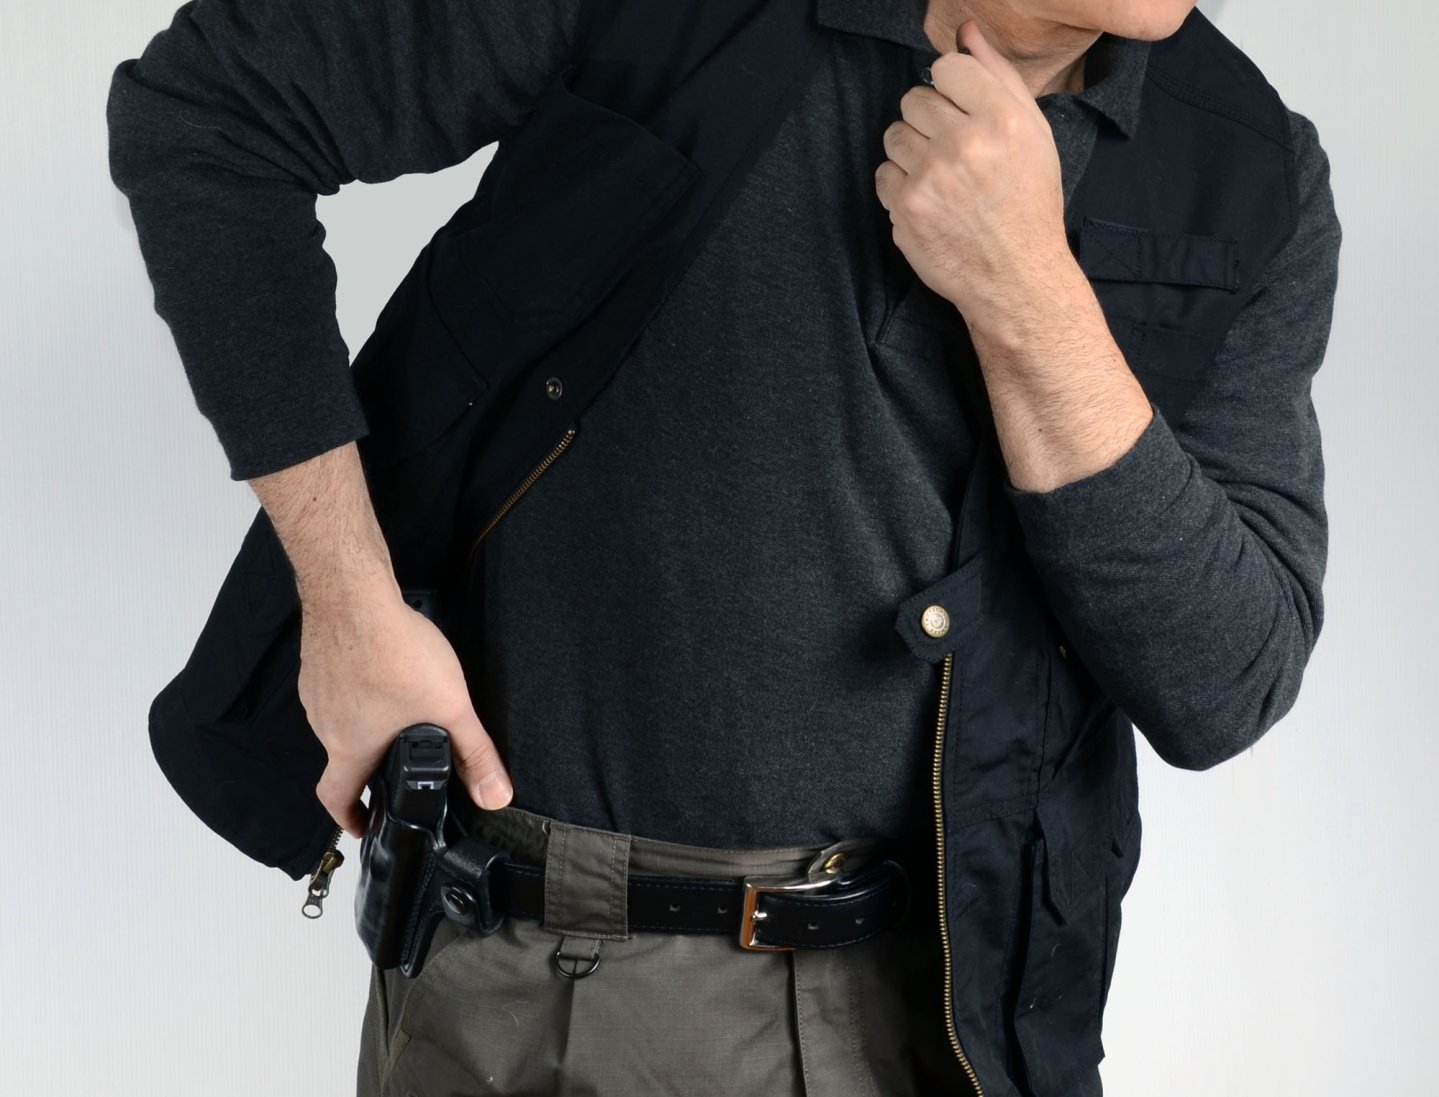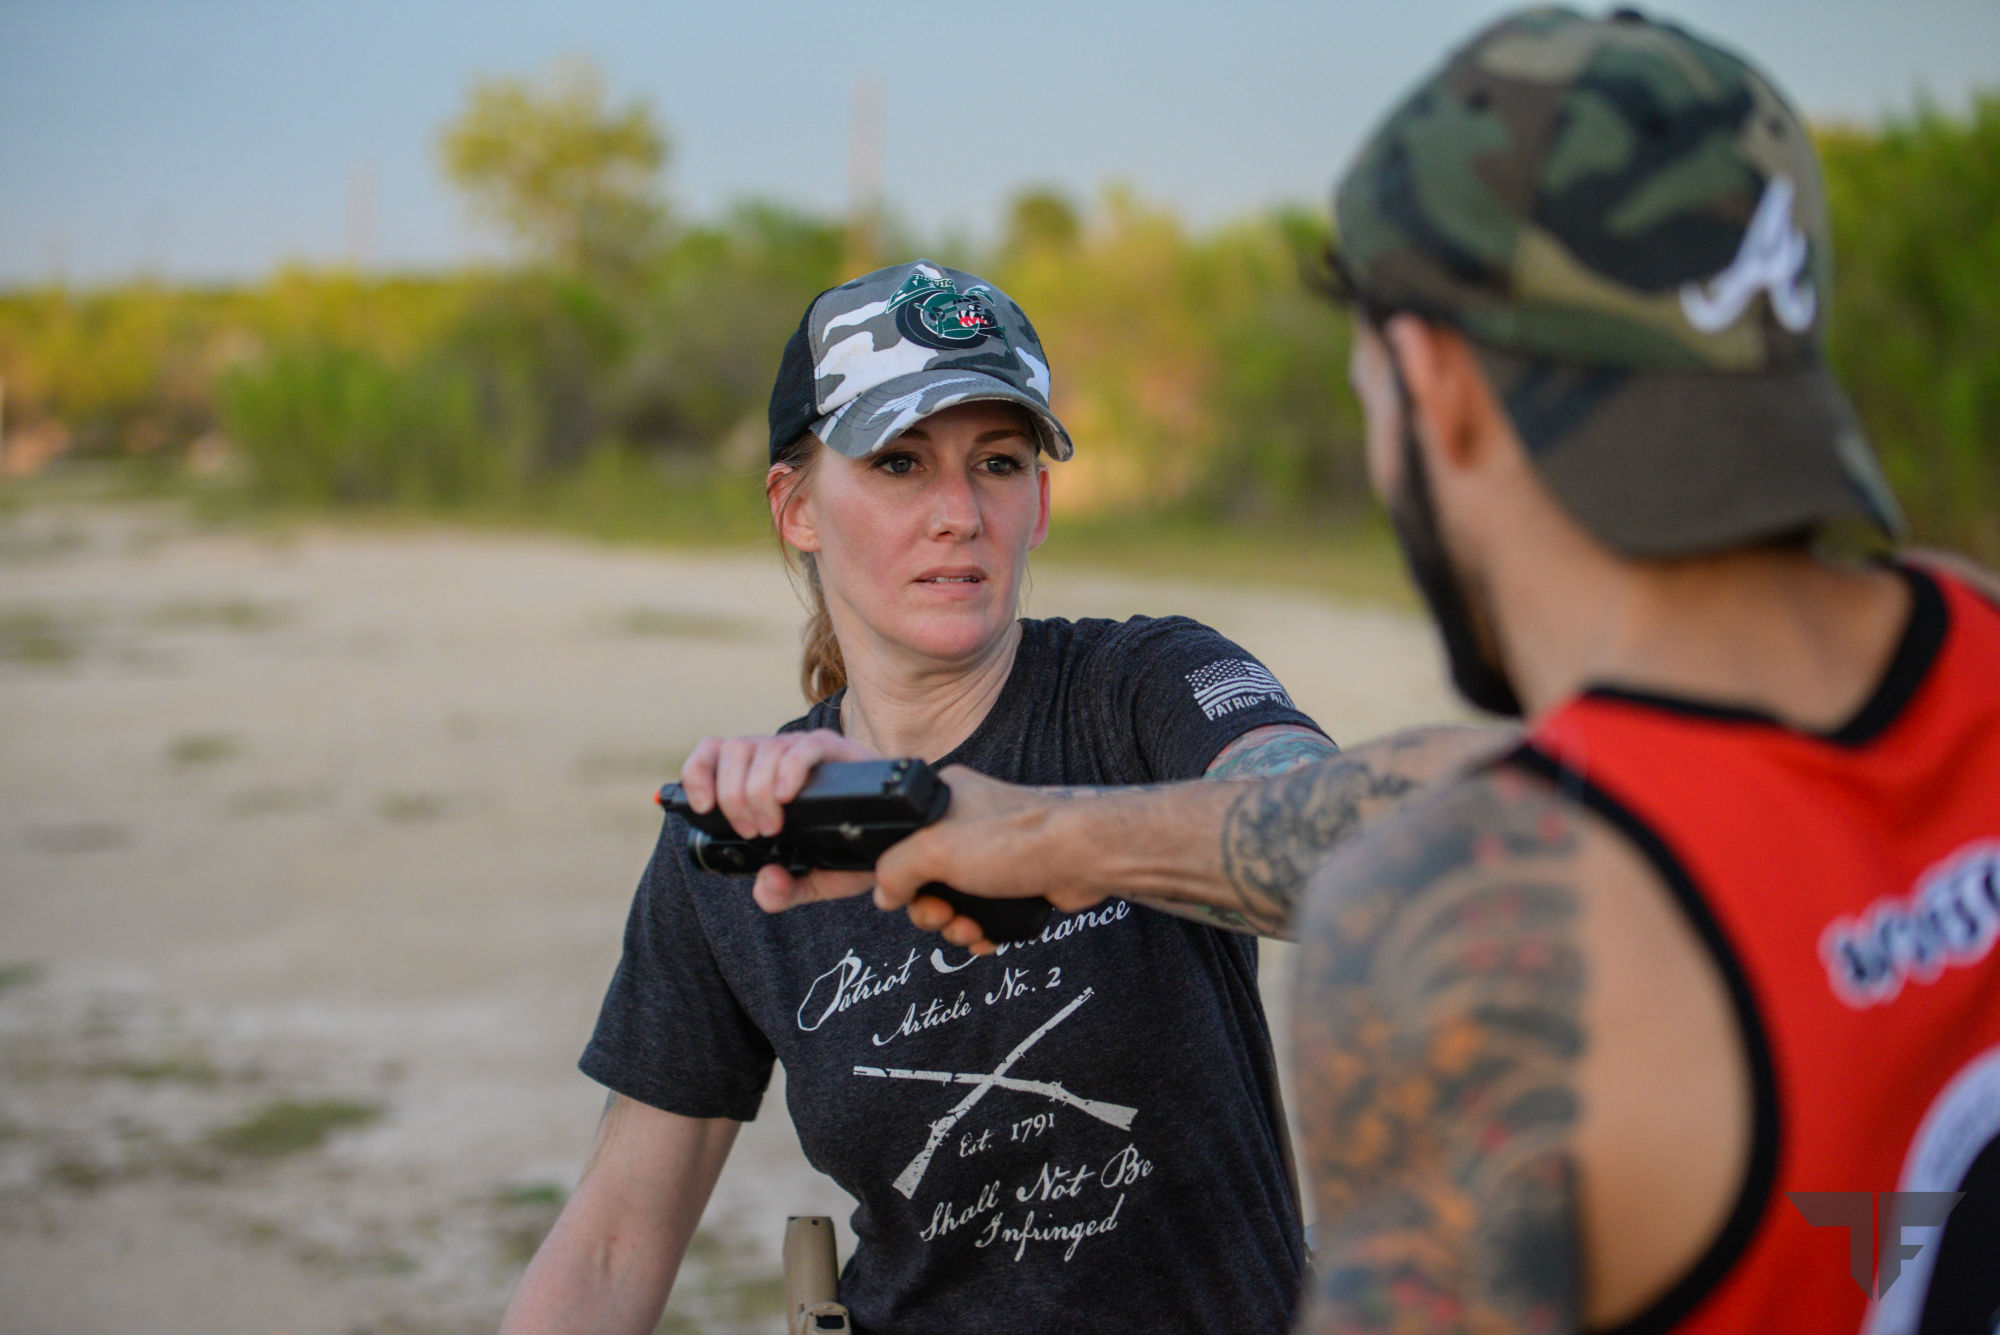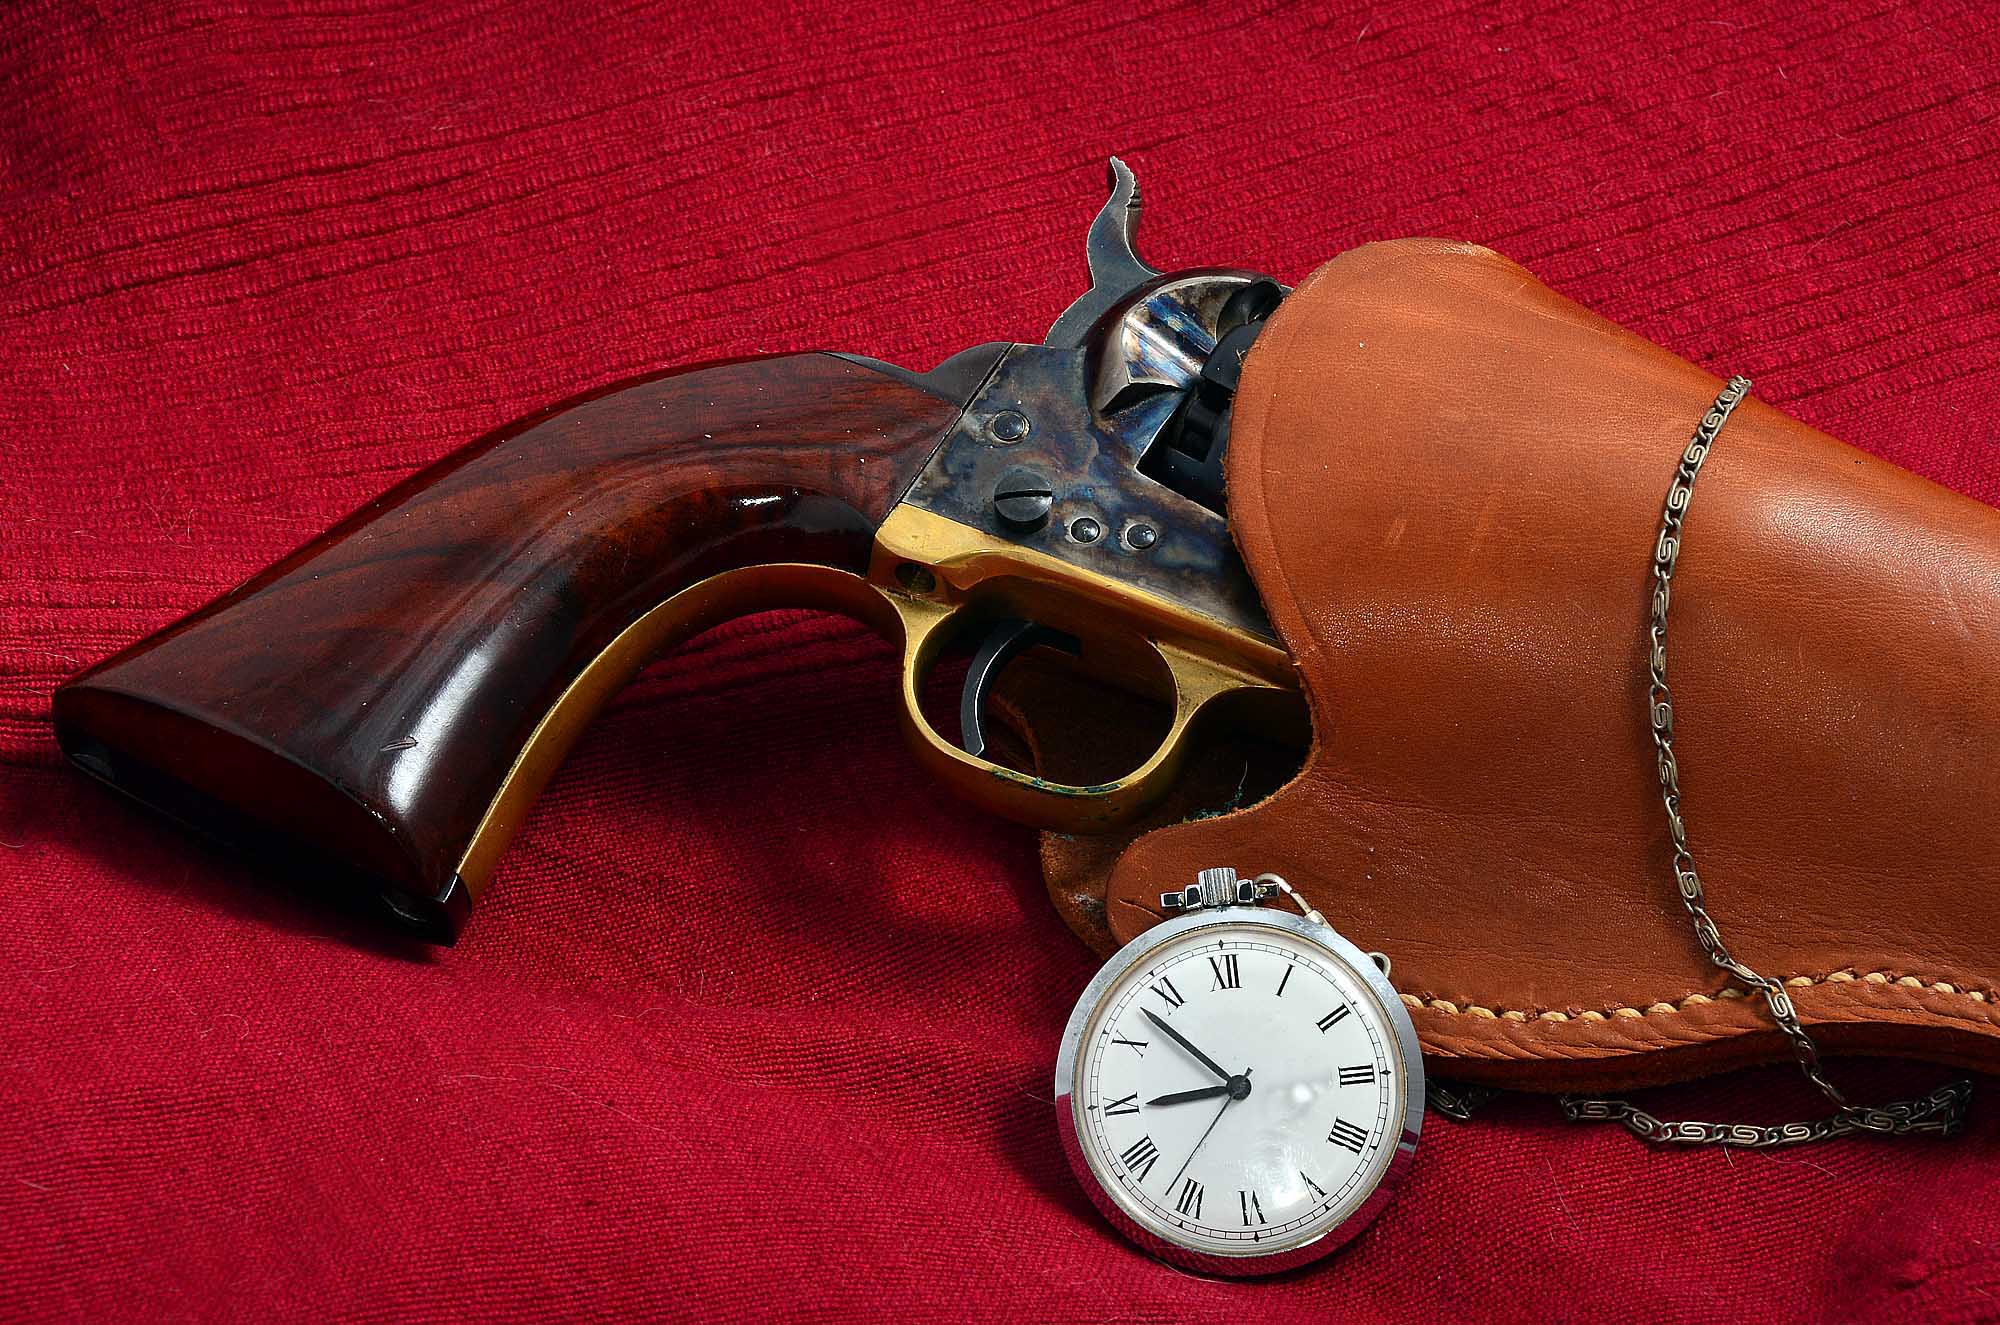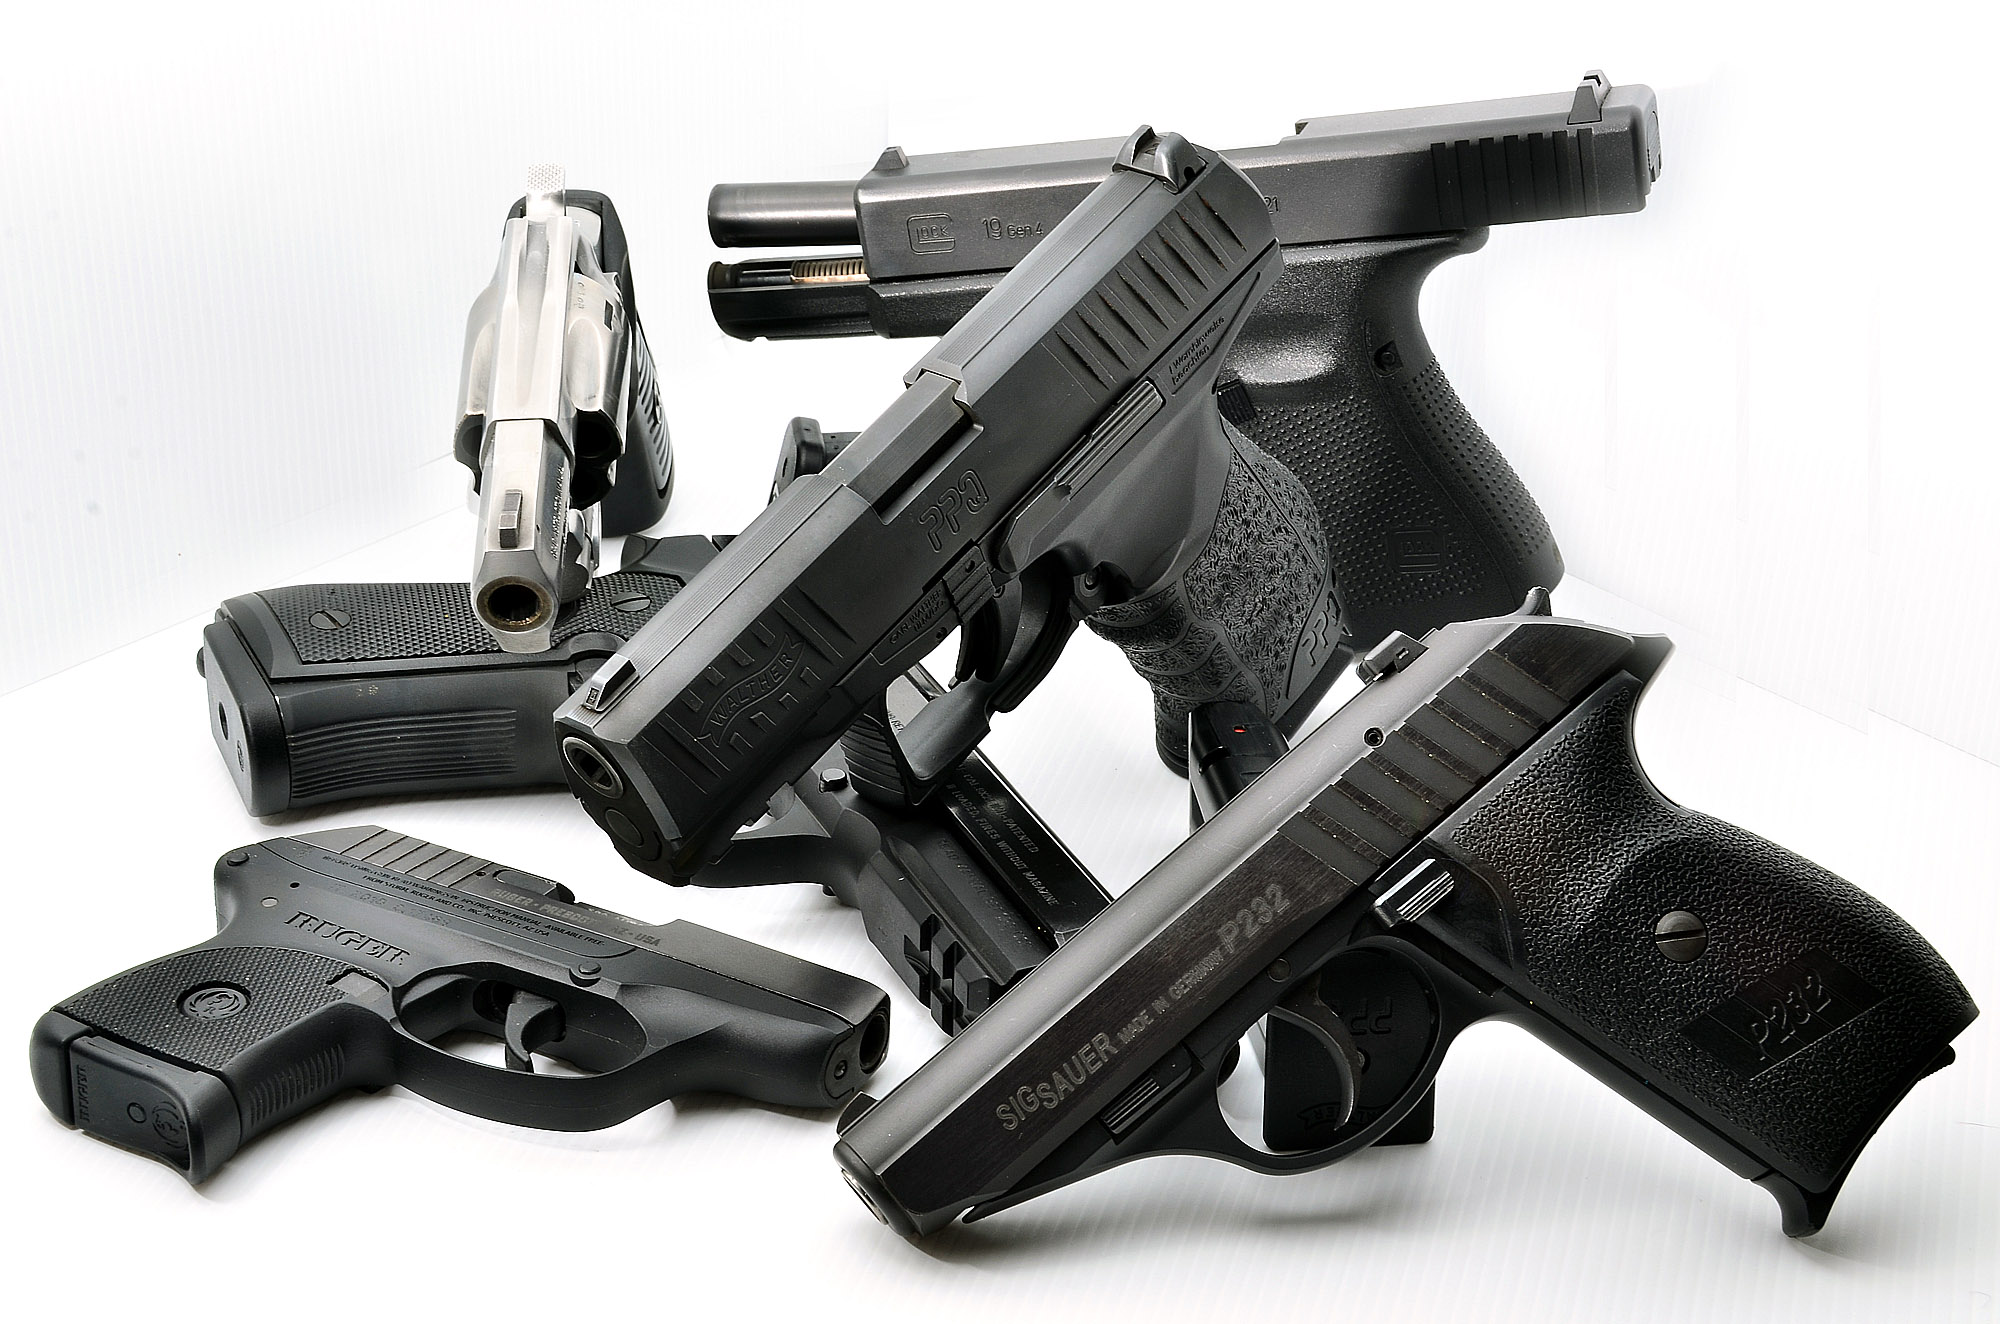
Drawing a pistol from its holster is one of the most dangerous movements you can make with a gun. Speed and safety don’t go together at first. The drawing sequence needs to be somewhat "broken" into different movements, executing them slowly one by one in order to be familiar with them when the time will come to perform a single, fluid, fast move. We aren't looking for speed, at least not immediately; it will come natural once we learn to get rid of all "empty" movements, uncertainties and all other possibly dangerous mistakes. First thing first: a gun should always be carried in a holster, no matter the model − any other way, we'll surely look like some kind of film noir detective, but we'll have a hard time drawing our gun, and it'll be dangerous. Two carry alternatives definitely stand out among others as of practicality: either you use an external holster positioned on your "strong" hip (eg. on the right if you're right handed, on the left if you're left-handed), or you use an inside-the-pants holster to becarried between your hip and your pants' waist. This kind of holster will allow better concealment, but will also make the draw slower, and about for the same reason we don't recommend either shoulder holsters or cross-draw carry: what you manage to achieve in the shooting range with these holsters could be difficult to repeat in high-stress situations, and they pose a higher risk to point the gun towards unsafe areas when drawing, which could result in injuries or death for yourself or innocent bystanders.
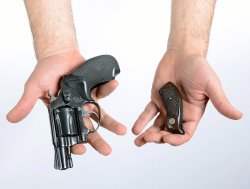
Unlike most people may think, subcompact pistols don't always work well for concealed carry, and most notably won't work with big-handed shooters; for the same reason, small-handed shooters won't be comfortable with full-size pistols, and if you can't get a good grip on your pistol, it won't be aligned with your forearm and aiming would require corrections − which of course you won't have the time to make in a life-or-death situation, and as a result your most important shots will end up out of target. If you can choose, avoid following the trends and "fashions" of the industry's latest "coolest" things − let alone what you see in movies! − ad choose a model that you find most appropriated for your hand, linking the anatomy of fire and the right caliber to the necessities and dimensions which allow you to get a good grip of your weapon. You should bear in mind that revolvers allow you to adapt the grips by replacing the grips and some guns have interchangeable backstraps.
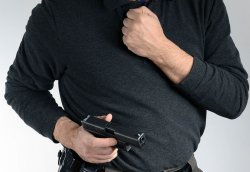
The first movement consists in grabbing the gun with the strong hand, which will hold the grip with the middle, annular and little fingers. The adductor muscle of your hand should, in this phase, remain in contact with your hilt and leave no space between the hand and the gun. The index finger should be kept along the holster. Since we are not talking about sport shooting, the force applied onto the grip needs to be consistent. The second movement consists of factually taking the gun out of the holster. The supporting hand will be kept resting against the sternum − not just to be able to "intercept" and support the strong hand for two-handed shooting, but also to keep it out of the way, and at the same time ready for other tasks, such as drawing a flashlight. Some so-called "experts", especially in Europe, state that this position will "protect" your heart from a possible incoming gunshot... but there's no real need to discuss such rubbish, isn't it?
The gun will be drawn from the holster with a joint movement of the forearm and the shoulder muscles; as soon as it's out of the holster, you should rotate the gun on its own axis, and at the same point you may use your thumb to disengage any manual safety that the gun may have − and which we strongly advise against, by the way. The rotation will bring the gun forwards, at the hip height, in the direction of the target, in order to aim at the opponent as soon as distance between you and him decreases. At this point, the index finger should already be in contact with the trigger.
If the target is still too far from you, you'll have to align your sights rather than just going for an instinctive shot. Skilled shooters who already practice one-handed shooting will simply need to extend the arm and align the gun with the eyes, in a movement that's very akin to what boxers call a "Jab". Two-handed shooting calls for a further movement: with the gun's still close to your tors, the weak hand will need to "intercept" the strong hand and support it, and once both hands are holding the gun, they'll point it at the threat. Many shooters, while extending arms, tend to rotate their wrists, as if they were launching a line out of a fishing pole − that's quite a common mistake, which should be avoided.
Many different techniques and theories exist about how to manage the recoil, all focusing on a different point: how to hold your gun, how to position your thumbs, the amount of strenght that each hand has to apply, etcetera. But under this point of view, everything is actually pretty much subjective: we believe that only a constant, focused and extensive training will allow each and every single shooter shooter to understand − basing upon his/her own strenght and experience − how to manage the recoil at any given point of the firing procedure, which will allow to perform rapid "double taps" without significant loss in accuracy.
Furthermore, we advise you to learn how to aim with both eyes open and to assume the “combat” position: both legs slightly bent, torso slightly arched forward, just as if you were on your guard in a boxing match. As for what we could learn from operators and shooters who were involved in real-life armed confrontations at one point or another, this position comes quite instinctive to take, as the body contracts and eyes remain pointed towards the threat, more as an effect of fear rather than training.
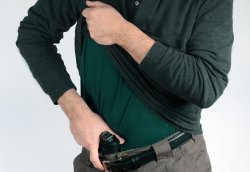
What we explained so far is more theory than practice. In real life, it's not that simple. Nobody can foresee at what distance the aggressor will be, and most times the gun will be carried in a manner that will call additional attention when drawing it in order to prevent it from snagging in the clothes it's covered by. That's why it's so important to learn how to shoot one-handedly, even with your weak gun. It's also quuite useless − when not counterproductive! − to learn how to draw and shoot using an open-carry holster if your everyday needs will call for concealed carry. A simple but quite effective technique concerning how to draw a gun hidden under a jacket or a shirt is called the "Hackathorn Rip", and bears the name of its creator − that being, Ken Hackathorn, a world-famous-US-based shooting instructor and martial artist.
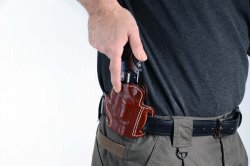
Another dangerous moment − even more dangerous that the draw itself, possibly − is when the gun has to be put back in the holster, especially if the shooter is under stress. Shooters and operators using a pistol with an external hammer must be especially careful in re-engaging the external safety, even more so if the pistol is a Browning-type single-action only model with a frame-mounted safety (eg. Colt 1911, Browning High-Power and clones/derivatives thereof) that are to be carried in "Condition One". When holstering external hammer, SA/DA pistols, the shooter should keep his/her thumb pressed on the hammer so that it might not self-cock by snagging on the clothes. Extra caution should be exercised when the gun is pointed towards your lower body portion: stay straight, keep your legs close together when re-holstering, and always remember to keep your weak hand "out of the way", close to your sternum.
Some shooting instructors suggest a "tactical" re-holstering technique that consists in not looking at the holster when putting the gun away, so to always keep an eye to your surroundings for any incoming threat.
What we recommend instead is that, should you still feel threatened after drawing your gun, you should not holster it and keep it at ready, firmly held with both hands. It doesn't matter if you carry open or concealed, or the type of holster you use: it's extremely dangerous not to look at what you're doing when you're re-holstering your gun: any piece of garment, even a thread, could get snagged in the trigger guard and cause an accidental discharge. A simple on-line search will let you know how this kind of accident is all but rare, so beware!


